FRONT STRUT REPLACEMENT Page 1-2
Page 1 and 2
Finally, started redoing the entire suspension in the car.
I went ahead and removed the strut assemblies first, that way this write up is
more meaningful.
Tools needed:
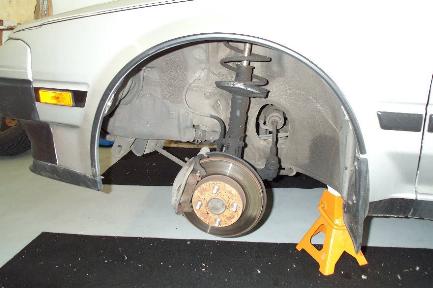
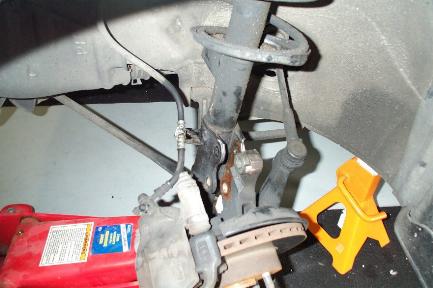
Front Removal (pictures show driver's side replacement)
1) Raise bonnet. Remove the strut top dust cover, and loosen the 22mm bolt
holding the strut in place. Do NOT remove the nut, just loosen. This will help
you later on.
2) Loosen wheel nuts on front wheels.
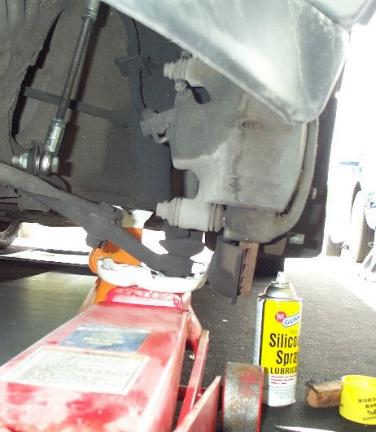
3) Raise and support front of the car. Remove wheels.
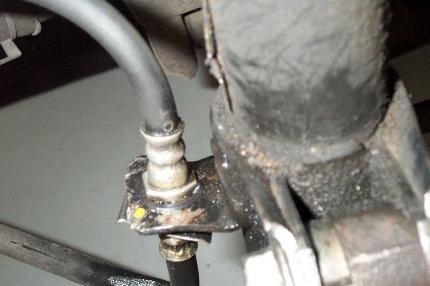
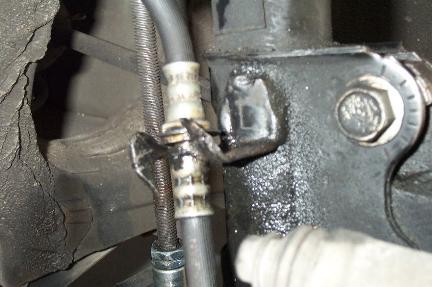
4) Long step. Take a look at the brake line and how it is attached to the
strut assembly.
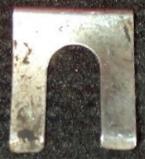
There is a clip holding it in place below the tab. Pull this out with a pair
of pliers.
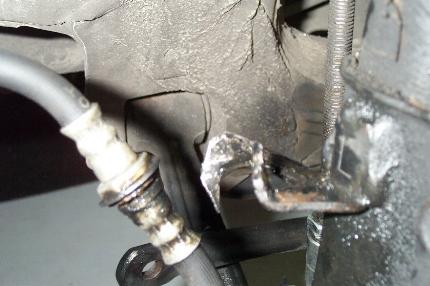
Quick pic of the clip out:
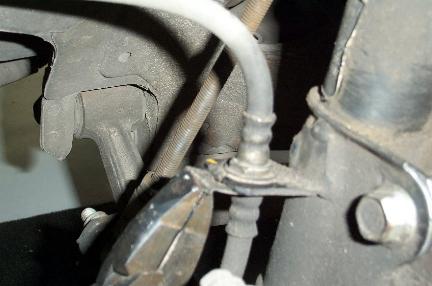
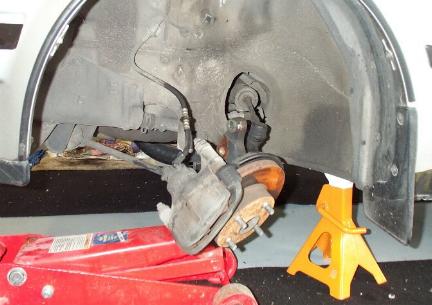
Now, to avoid having to remove the brake hose from the caliper, and having to
refill the brake fluid and bleed it, you will need to cut a slot in the bracket
in order that the brake hose can be pulled free. Most cars may have had this mod
already carried out.
You can easily move the line out free from the strut assembly.
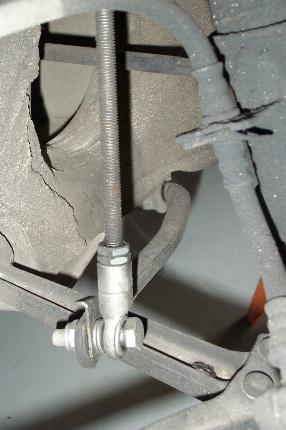
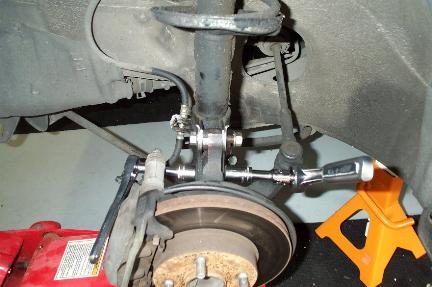
5) Remove the roll bar end link. I chose only to remove it from the bottom,
as the top nut/bolt is a pain to get to. So I didn't remove it completely until
the strut assembly was off the car. (I have aftermarket adjustable end links, so
the standard ones won't look like this.)
6) Remove the three 14mm bolts holding the strut top to the frame of the car.
7) Support the control arm, under the ball joint with a jack.
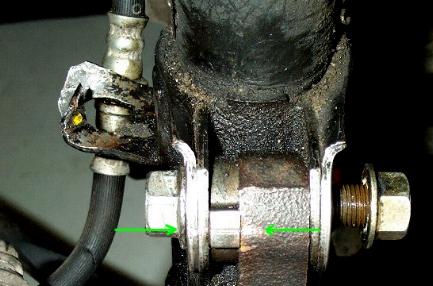
8) Scribe a mark onto the lower strut bracket, so that when reinstalling the
camber will be fairly accurate. (Ignore the bolt being loose, that's the next
step)
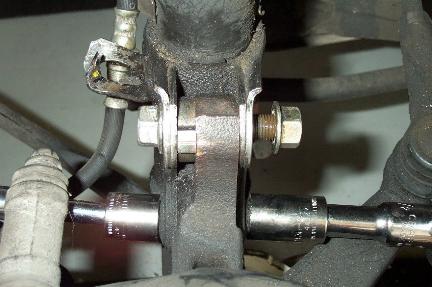
9) Remove the two 17mm nuts/bolts holding the strut assembly to the steering
knuckle.
10) It may take some working of the strut assembly and wheel hub to get it
loose. Once it does, be prepared as the hub will fall toward you.
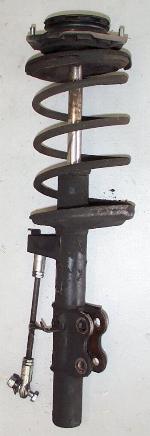
11) Remove the strut.
12) Disassemble the struts. Unfortunately, I do not have any pics of this
part of the process, as I did this over at a friend's house who has a vice. I'll
try to go through the steps though. It's fairly straightforward. Take a look at
my rear strut disassembly
write-up for some pics of this part of the process.
Take spring compressor to the springs, to relieve pressure from the top
spring perch. Remove top 22mm nut from the strut top. It should be easy to do,
if you loosened it back on step one while the car was on the ground. If you
didn't happen to do this step for some reason, you can put the top spring perch
in a vice (need 6+" vice) and then loosen the nut. The strut insert may
eventually begin to turn with the nut. If so, grab the very top of the insert
with a pair of vice grips. Since you are replacing these it shouldn't matter too
much.
Ok, now that you have the strut top off remove the spring from the assembly,
and release the spring compressor. You now will have the shock absorber held
into the strut assembly. Put the assembly in the vice, and go at the nut with a
monkey wrench or channel locks.
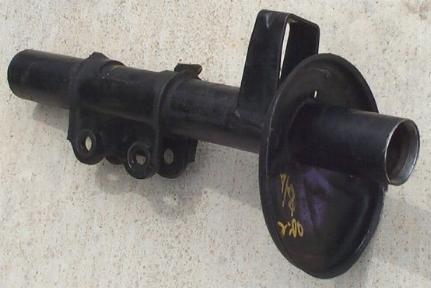
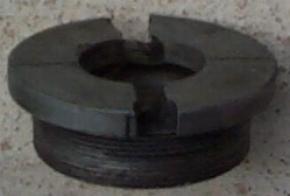
Here's a picture of the strut assembly and the nut.
Here's everything all laid out, excluding the damper, as I threw that thing
away immediately...
Go to Page 2 for the
install.