REAR STRUT Page 2 - 2
Installation
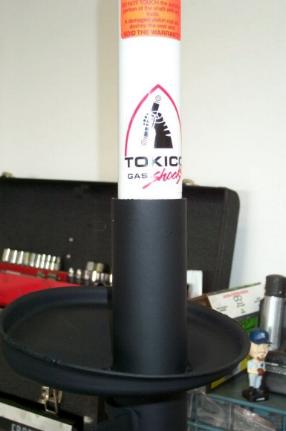
1) Place the new strut insert inside the assembly.
Pour some coolant or oil in the assembly to provide a bath for the insert.
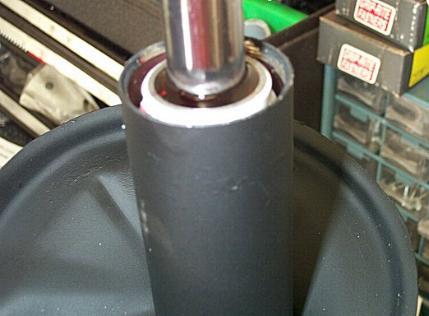
Helps dissipate heat. 3) Insert the new gland nut and tighten it down to the spec provided by your
new inserts. You also need to measure the distance between the gland nut and the
strut assembly (the exposed threads). If not within spec you will need to use a
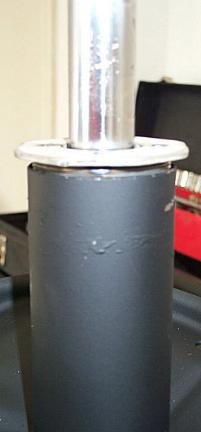
spacer. FYI, my Tokico Illuminas did not need any spacers. 4) Slide new (or old if it's in good shape) bumpstop onto the shaft of the
insert. Notice I cut the top off the bumpstop, as I am using ST springs.
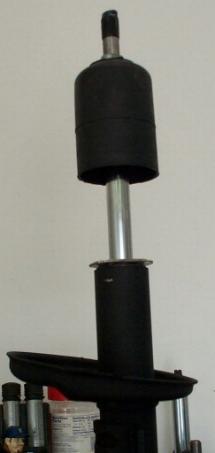
5) Insert new spring insulator. 6) Position the spring into the assembly, making sure that it is positioned
correctly in the insulator.
7) Insert strut top and tighten down with new 19mm bolt provided with the
inserts. Make sure the strut top is aligned the proper way relative to the strut
assembly. Consult the BGB or Haynes. (The 'point' in the triangle of the strut
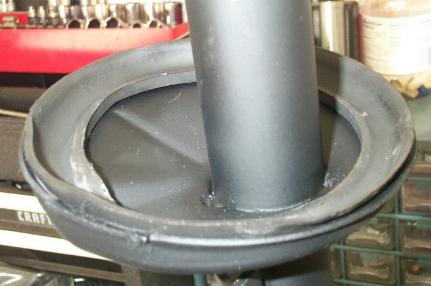
top should point toward the outside of the vehicle.) 8) Also, make sure the top of the strut insert is properly aligned with the
bottom of the strut top. I ended up having to wait till I installed the
assemblies in the car, before I was able to tighten the strut top bolt all the
way to spec. The insert kept turning, and I didn't want to grab the shaft with a
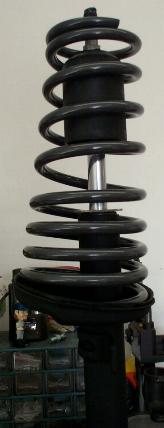
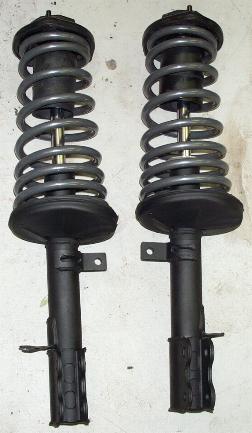
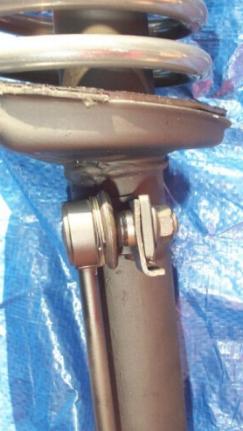
pair of pliers. That would have been a bad thing. 9) Here's the two assemblies ready to go back into the car. 10) Attach the one end of the end-link to the strut assembly, lot easier than
doing it with the strut assembly in the car.
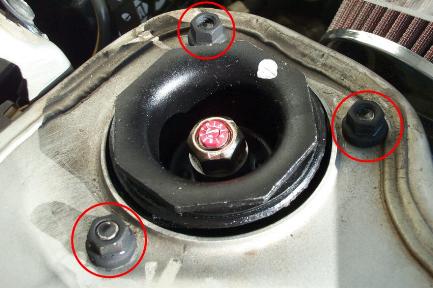
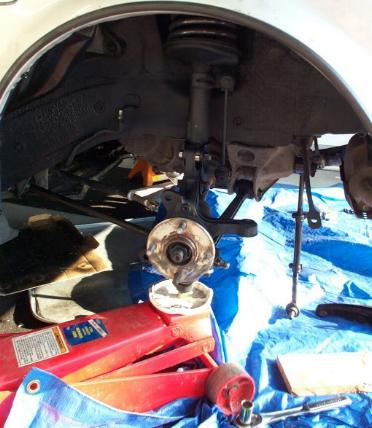
11) Insert the strut assemblies back into the car, top first. Hand-tighten
the three 12mm bolts to hold the assembly in place. 12) Set the camber adjuster back to where you marked it, and then wiggle the
axle carrier back into the strut assembly.
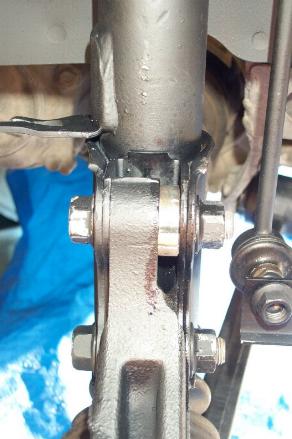
13) Insert and tighten the 17mm bolts into the assembly and axle carrier.
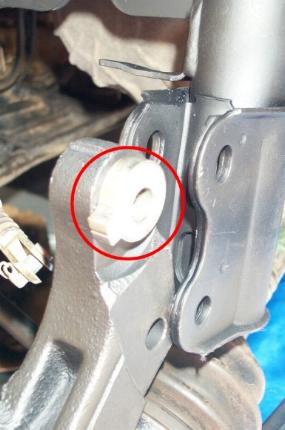
Also attach the other end of the end links to the sway bar.
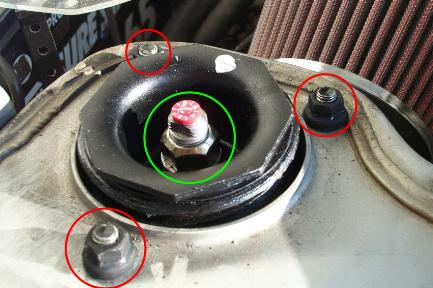
14) Use a jack to raise the axle carrier up, to compress the spring.
15) This will allow you to easily tighten the three 12mm strut top bolts
(red). Also, if you weren't able to align the strut insert into the bottom of
the strut top, you can do that at this time. Tighten the 19mm bolt (green) down
to spec.
16) Mount wheel and lower vehicle.