WATER PUMP PROBLEMS
Several members have recently reported problems with the water pump. The Toyota
workshop manual suggests three ways to check this component. 1 The pump has a
weep hole in the body, if the seal in this fails coolant will drip out of
this hole and can be seen from directly underneath the car at the right rear of
the block. 2 If the water pump shaft bearing fails it will normally make a
squeaking noise similar to that of a slipping fan belt. 3 To check for wear in
the pump shaft, grasp the pulley and move it up and down to check for undue
play.
The heating and cooling system on the MR2 is particularly complicated, not least due
to the relative positions of the of the engine and the radiator at the back and
the front of the car. Stuart Kynoch and I have spent a lot of time trying to
sort out various problems on his Supercharger and we would be happy to offer
advice on this matter in conjunction with Technical Advisor Alan Jones.
WATER PUMP REPLACEMENT Page 1 of 3
Several members have recently reported problems
with the water pump. The Toyota workshop manual suggests three ways to check
this component. 1 The pump has a weep hole in the body, if the seal in this
fails coolant will drip out of this hole and can be seen from directly
underneath the car at the right rear of the block. 2 If the water pump shaft
bearing fails it will normally make a squeaking noise similar to that of a
slipping fan belt. 3 To check for wear in the pump shaft, grasp the pulley and
move it up and down to check for undue play.
After a leak that had been going on for a couple months, I decided I would go
after changing out the water pump. I also wanted to flush out the entire coolant
system as this hadn't been done since I had the car. I ordered the new water
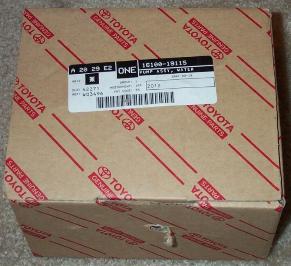
pump from Jay Marks Toyota. About $60 for the entire kit that you see below
($80+ from local dealer). You can just purchase the water pump from your local
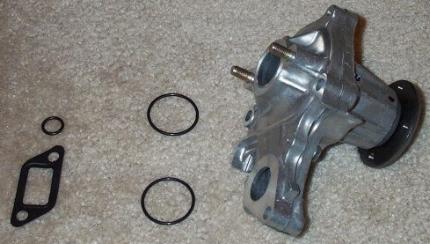
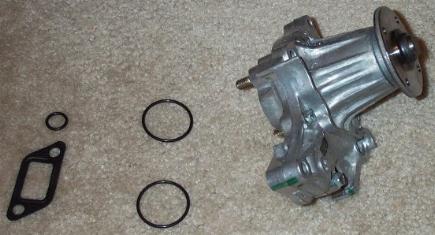
autoparts store, but it will not come with the o-rings or the suction cover
(that's the left hand side of the pump below).
Note: You may want to change out your timing belt when doing the water pump
(and vice versa), as removing the timing belt is only a few bolts away. However,
I chose not to do this, as mine was just done 30k miles ago, and I plan on
rebuilding my engine sometime middle-late next year. Believe me, the timing belt
does get in the way, especially when installing the new pump, but it is
definitely doable without removing the timing belt.
Here's a couple of pics of the new pump:
Here's the box it came in showing the part #16100-19115:
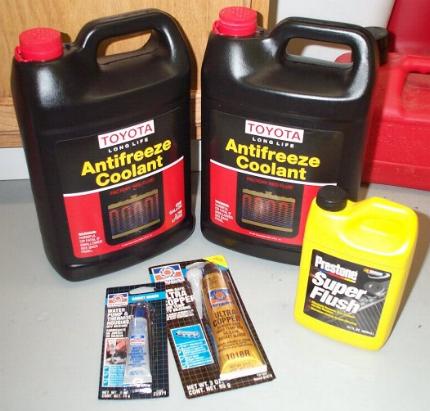
Here's what else I bought for this project (2gal Toyota coolant, Prestone
Super Flush, Permatex Ultra Copper and Permatex Water pump and Thermostat
Housing Gasket Maker):
Draining the old fluid:
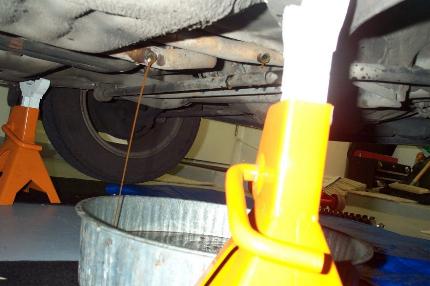
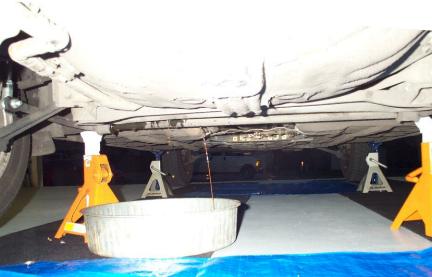
First off, drain out as much old coolant as you can. Jack up the back of the
car higher than the front, remove the front-most underbody cover (seven 10mm
bolts), and remove either the drain bolts shown here, or use the drain cock on
the bottom of the radiator. I chose to use these 2 drain bolts, because my
radiator drain cock was plugged. Make sure to remove the radiator cap and also
loosen the drain cock on the top of the radiator. This will allow air to vent
into the pipes, allowing the coolant to drain out easier.
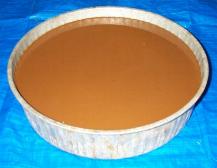
Here's what came out. Nice and brown huh? They say this is from mixing the
Toyota red coolant with the typical Prestone green stuff. Make sure to dispose
of this stuff properly. Ya wouldn't want to kill any of your neighbors pets now
would ya???
You can chose one of two routes here. Either flush out the system now, or go
ahead and change out the pump. I decided to change out the pump next. Here's how
to go about that:
Removal of old water pump
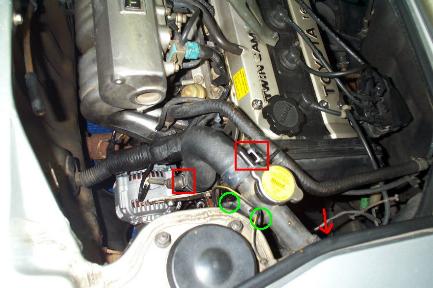
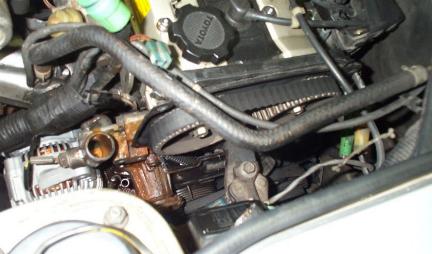
1) Remove the 2 hoses circled below and remove the coolant reservoir by
pulling it straight up.
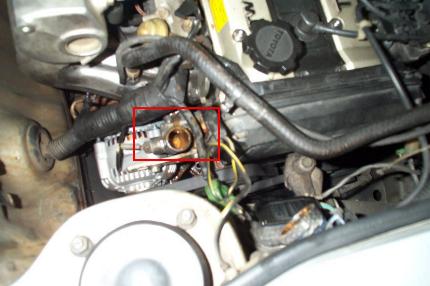
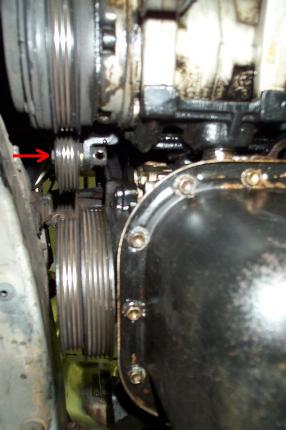
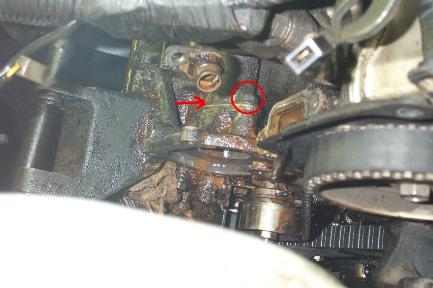
2) To give you 'plenty' of room to get to the water pump, remove the radiator
cap mounting tube. Do this by removing the spring clips (shown in the square box
on the right and pointed to by the red arrow) clamping the hose to this plastic
tube. Remove the two 10mm bolts shown in the green circles. Then remove the hose
going from the radiator cap to the engine, by removing the spring cliip
contained in the left red square.
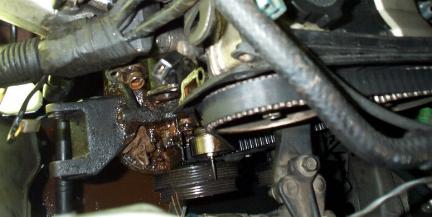
Here's the result of the above removal. You can start to see the water pump
now...
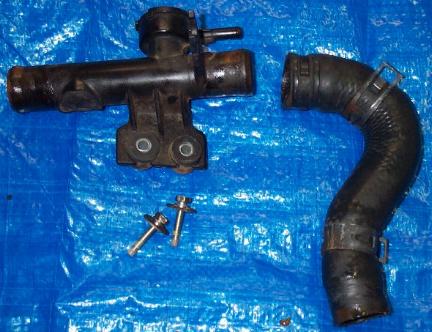
And here's the parts that you just removed:
3) Now, disconnect the 3 different wires (black, green, and blue connectors)
that will be in your way and tuck them away someplace..
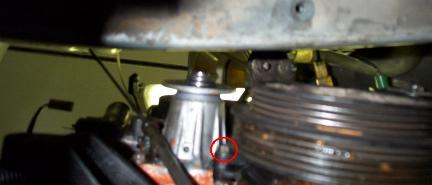
4) The next thing you should do is loosen (not remove) the water pump pulley
bolts (four 10mm bolts shown in the red square). This is alot easier to do while
the belt is still in place.
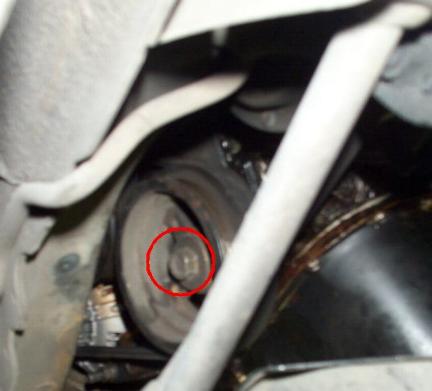
To get to all the bolts on the pump pulley you will have to turn the crank
pulley. Do this by using a 17mm socket on the below circled bolt. To make this
easier to turn it's best to remove the spark plugs. (I didn't do this
however...) You have to remove the bottom engine cover (about seven 10mm bolts)
to get to this easier.
4) Remove the alternator and it's adjustor bracket. If you have not done this
before, refer to the alternator
write-up for the removal process. (some of the below steps show the
alternator in the pics still. I didn't remove it till I had to, but I would
recommend doing it now.
5) Remove the water pump pulley bolts that you loosened earlier and remove
the pulley.
6) Remove the 'coolant inlet housing' located in the red square box (two 10mm
bolts from the front and one 10mm bolt that needs to be removed from under the
car).
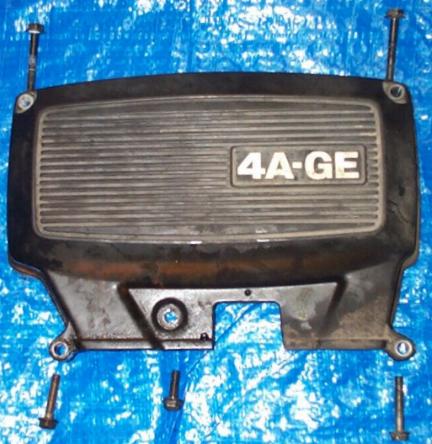
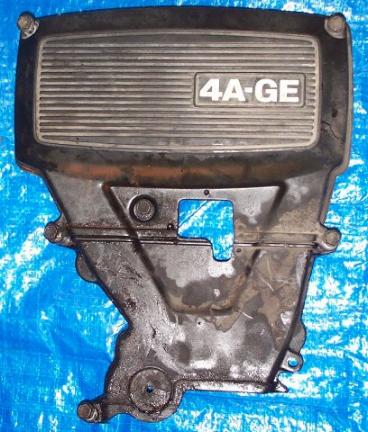
7) Remove timing belt cover #3. Here's a pics of the cover removed to give
you an idea of where all the 10mm bolts are located.
Here's a pic of the timing belt cover #3 removed.
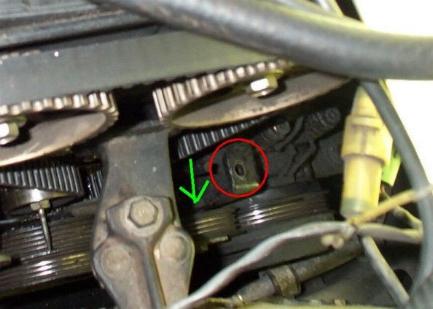
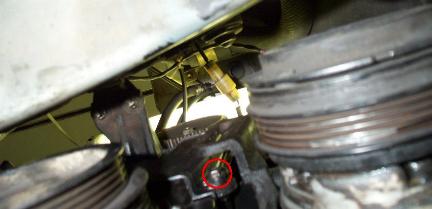
8) If you have AC, remove the AC idle pulley. The below picture already has
the belts off but it should give you an idea of where the pulley is located,
between and above the crank and AC pulleys. Use a 14mm box end wrench to remove
the nut from the pulley.
The red circle below shows where the 15mm bolt (it's a real long one) that
holds the idle pulley bolt in place. Remove this bolt. The idle pulley should
now be free, so remove it and the two belts.
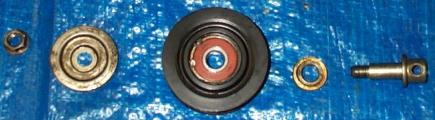
Here's the idle pulley after removal:
9) There are only 2 bolts holding timing cover #2 on, since #3 is out. Get to
them from below the car, and here are pics of where they are located:
Here's the one near the rear of the car, 10mm. (Ignore the fact that the new
water pump is already in, I took the pics out of order.)
And here's the one on the other side of the crank. It's right behind the idle
pulley bracket and is a pain to get to. I found a 10mm offset box spanner to do
the job (luckily I had one).
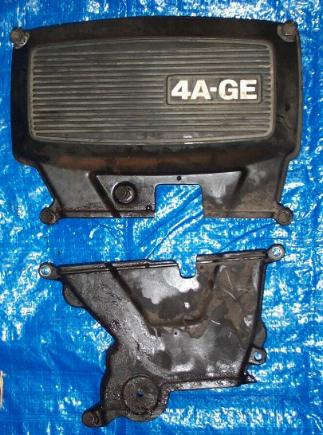
Here's a couple pics of the two removed timing covers. The one on the right
shows how they are assembled when on the car. Be careful when removing timing
cover #2, as the needle on the timing belt idle pulley comes out the hole in the
bottom left of the cover. It's actually a plug that surrounds this needle, that
you can remove if you want/need to.
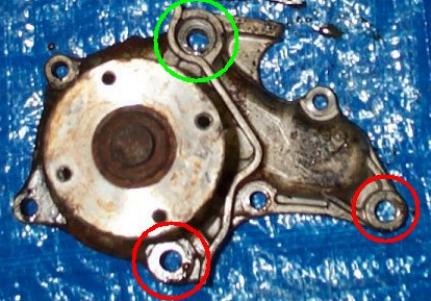
10) Remove the water pump bolts. There are two 12mm bolts (red circles) &
one 10mm bolt (green circle) that hold the complete housing to the engine block.
And also there's 4 other 10mm bolts that hold the pump to the suction cover (not
circled).
Remove the oil dipstick thingy, by pulling it straight out. Make sure to
cover the hole with a rag or something. Once you are sure all the bolts are off,
remove the water pump portion. It may take some pressure on it to remove it. I
had quite a bit of coolant leakage here when I did this, since I didn't bother
draining the engine block. So make sure to have your pan close by. (Note: Feel
free to drain the engine block if you'd like to be a little neater than me.
Consult the BGB for it's location.)
11) Remove the 2 below indicated 10mm bolts, which hold the suction cover to
a coolant pipe. You can then easily remove the suction cover from the engine
bay.
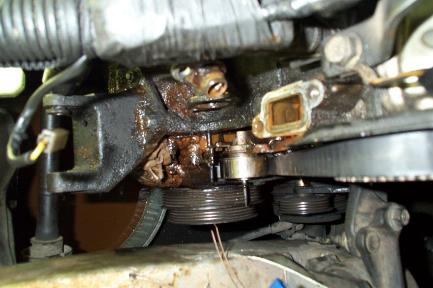
A couple pics of the water pump removed. Nasty down there huh?
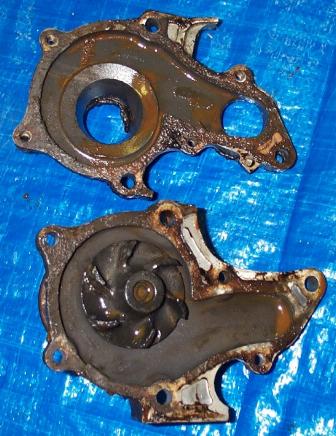
And here's a couple of the removed water pump and suction cover:
Removal is now complete. Go to Page 2 for the install and flush process.