REAR STRUT Page 1-2
Page 1 and 2
Tools needed: Rear Removal
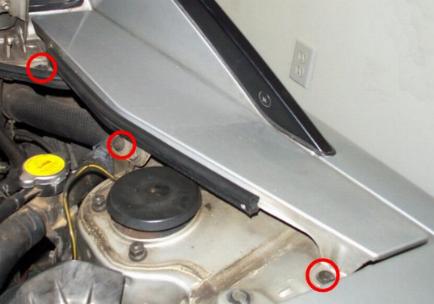
1) Remove the 3 screws holding the decklid side panel.
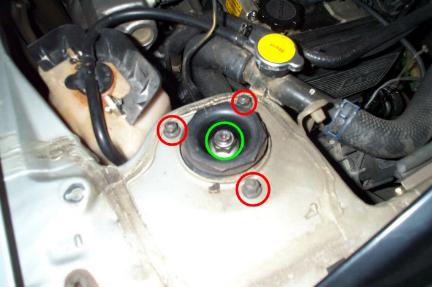
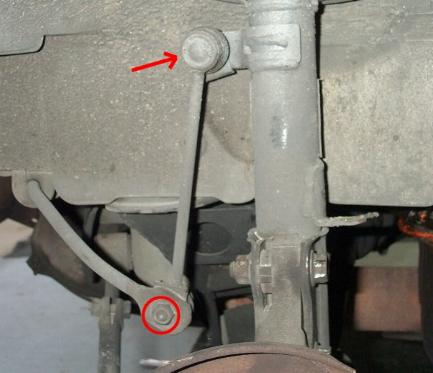
2) Loosen the 19mm strut bolt (green) and the three 12mm strut top bolts
(red). Do not remove.
3) Raise and support the rear of the car on jack stands.
4) Remove the rear wheel.
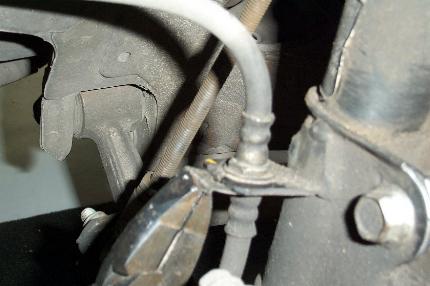
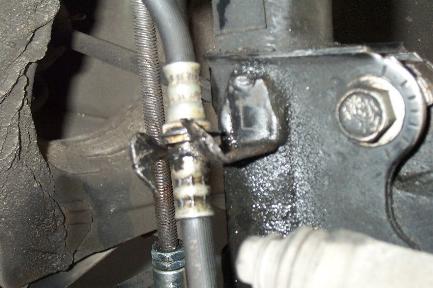
5) Remove the clip holding the brake line to the strut bracket.
6) Push the line up and then bend the bracket to open up space to remove the
brakeline from the bracket. You may need a dremel tool to cut a line into the
bracket.
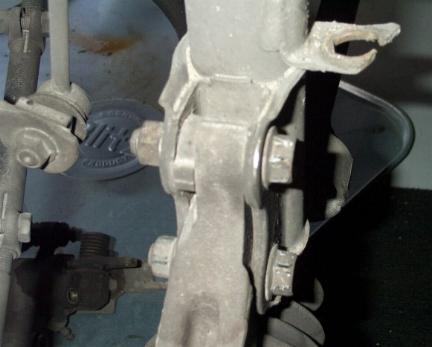
7) Remove the sway bar end link from the strut assembly. 14mm nut.
8) Mark the camber position on the axle carrier. Then remove the two 19mm
bolts/nuts holding the strut assembly to the axle carrier. 9) Remove the three 12mm bolts (red) from the strut top.
10) May take some working of the strut assembly and axle carrier, but
eventually you can wiggle the strut assembly loose and can remove it from the
vehicle.
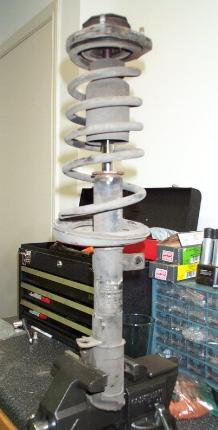
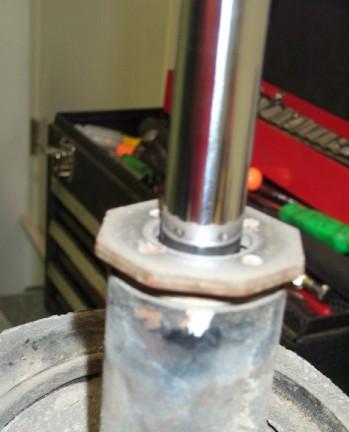
11) Remove the 19mm bolt holding the strut to the strut top. I did not need a
spring compressor for the rear. However, to be safe, use one.
12) Remove the strut top, spring and bumpstop.
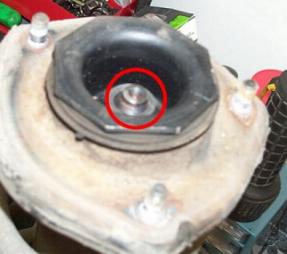
13) Place the strut assembly in a vice, and then using a pipe wrench or
channel locks remove the gland nut. The insert should then pull right out. Be
careful of some oil within the strut assembly.
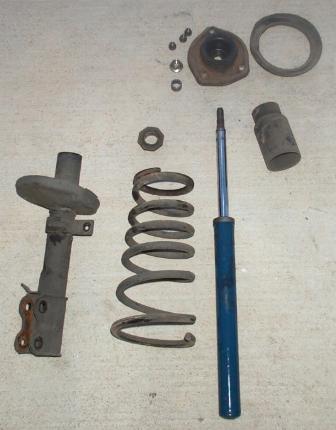
14) Here's the parts contained within the strut assembly.
Go to Page 2 for the
install...