ANOTHER THRILL IN LIFE- SWAPPING BEARINGS!
If only I’d used ‘WIVES’ in the title instead I reckon I’d have doubled my
audience, but such is life, I’d better just stick to what I know best!
The case
in hand is front wheel bearings. Although they do not seem go that often. In
fact I can’t recall any member reporting a failure or asking about replacement
procedures.
However, sod’s law, I needed to replace one recently so here’s a ‘lowdown guide’
rather than the detailed procedure.
In terms of size, quality, and design they were class average in the ‘80’s but by
modern car standards they are probably beefier!
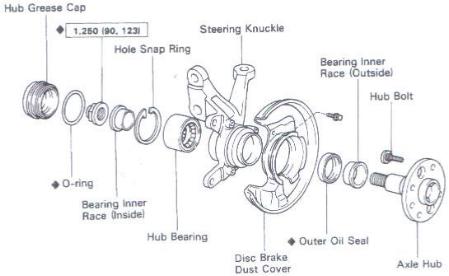
The configuration is conventional, a double row back to back angular contact bearing
with split inner races. Preload is fixed as the bearing components are a matched
assembly – (they must be assembled exactly as ‘out of the box’ orientation
and must never ever be interchanged with parts from another bearing.) The
‘axle nut’ merely pulls these matched parts together once its reached its
specified torque of course. It’s this precision matched bearing assembly that
makes them relatively expensive, don’t expect much change from £50 a unit.
A diagram of the front suspension appears at the end of this article, I couldn’t find
anything more specific.
More to the point, how would you recognise if one was starting to go on yours? Read on:
Be told at the MOT time, a bit random and never welcome! No disrespect for the testers
here, its hard to pick up on a static ‘wheel play’ test. They say ‘slight
play’ undefined of course!
Notice a ‘grumbling’ noise from ‘somewhere’ – apart from your passenger that
is!
If you do
suspect something is amiss, then find a large empty tarmac space (which might
seem to rule out most of England!) then execute sustained slow-speed turns with windows open and listen
carefully.
If more
grumbling comes on LH turns then it’s probably an O/S bearing that’s worn
and complaining because it’s the one under load.
Having
said all the above stuff, on my Supercharger I initially thought it was my RHS
driveshaft grumbling and knocking – so much for technical advisors!
It was
however much worse under braking which shifted my attention to the front end.
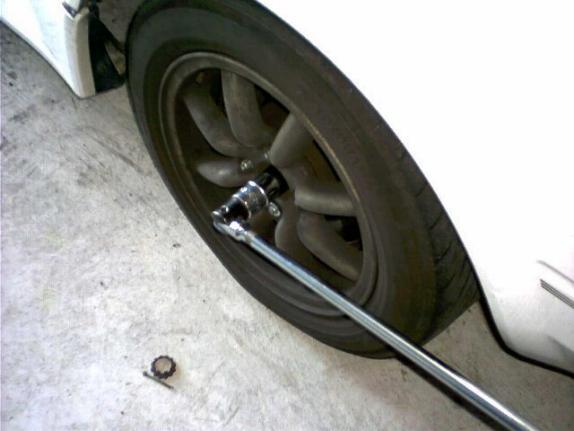
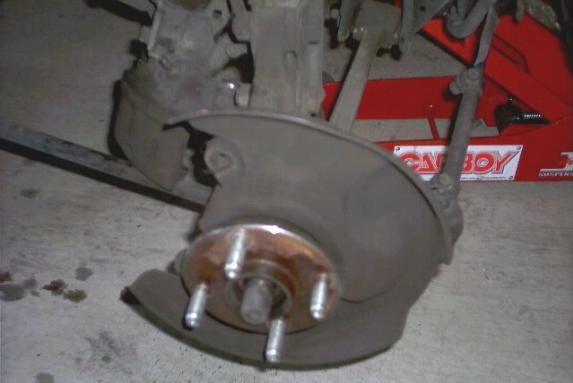
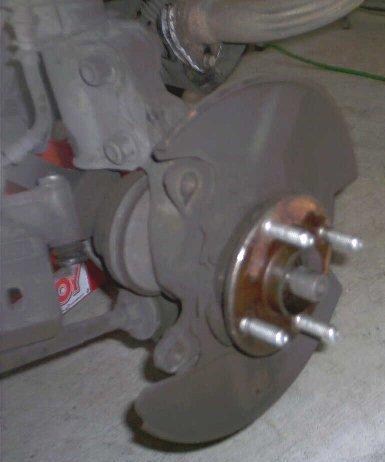
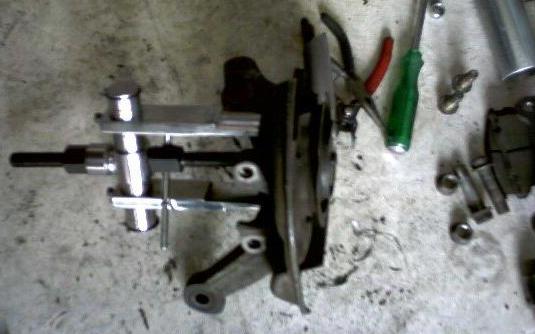
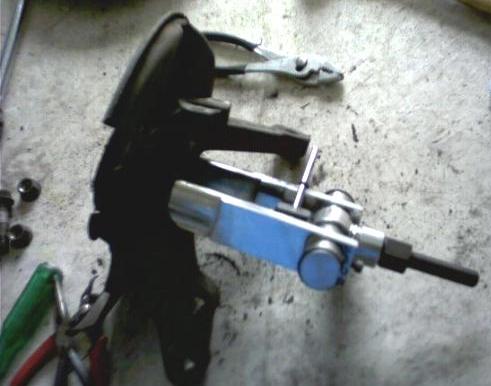
To change
the bearing the entire hub has to come off. This isn’t that difficult but it
does take time, about 3hrs.
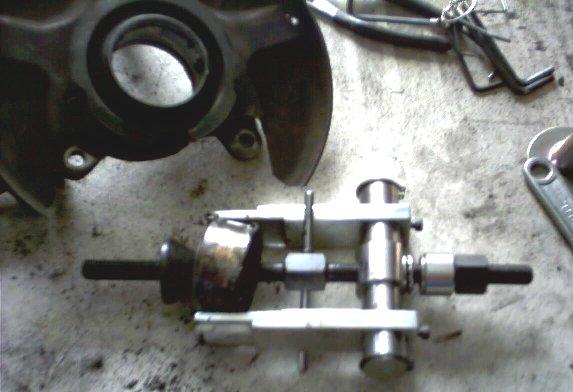
Having got
the hub off the bearing has to be pressed out. This to my knowledge is virtually
impossible without a hydraulic press. A hammer and drift might work but damage
to the hub is almost inevitable.
However I
do have access to a 10 ton press which proved invaluable, I doubt whether I
would have managed without it. It took 10 tons to force one outer race out and
it went with a bang!!
To replace
the bearing it’s basically a ‘reverse build’ but you have to do it very
carefully if you expect it to last.
Everything
must be scrupulously clean of course, and a little extra grease applied to the
bearings before and during assembly.
This is a
subjective judgement, too much grease and the bearing will overheat from the
grease friction being greater than the dissipation rate through the inner and
outer races, too little and the bearings will run dry prematurely and fail.
My own
rule of thumb is to fill the housing cavity to about 30% of the free air volume
after bearing fitment and definitely not more than 50%.
As to the
grease to use, a good brand LM3 lithium based auto grease is OK, I tend to use
an MS3 with added molybdenum disulphide for improved boundary layer lubrication
under extreme loading conditions.
The grease
seal (on the o/s of the hub) MUST be fitted very carefully, it is quite delicate
and so easy to not seat ‘square’.
The use of
a press is probably not quite as essential as for removal, but I definitely
prefer the control and precision it brings.
All of
this bearing removal and replacement into the hub takes place ‘off the car’
and a decent workbench and vice set up is the minimum requirement.
Having got
the hub and new bearing rebuilt, then it has to be fitted onto the suspension,
again a reversal of the disassembly sequence, straightforward.
After all
this work – is it worth the effort? In my case yes! I did both sides, well
having done the first the second is so much easier and quicker!
All grumbling has gone (except for the passenger!) and braking is much more smooth
than before. That alone justifies the job to me, not too easy but well worth it
in terms of smoothness, braking and long term reliability.
As always – ‘you pays your money and makes your choice’!
ALAN JONES
WHEEL BEARING REPLACEMENT
You must have a GOOD two jaw gear puller. And a press is nice to have also
but you can do it with out one. I had to buy a new hub when I changed my right
rear bearing. You need the following tools: big breaker bar and cheater bar, 30
mm socket, hammer, two jaw gear puller, a seal puller, a HUGE set of snap ring
pliers, a crow bar, and the usual tools. You will also need a seal kit for the
hub, don't use the old seals.
For the rears,
1. Remove wheel ornament.
2. Remove the axle nut cotter pin and cap.
3. Break the axle nut loose with the transmission in reverse and the parking
brake set.
4. Raise and support the car and remove the wheel.
5. Remove the axle nut and washer.
6. Remove the caliper and hang it out of the way.
7. Remove the rotor, you will need two screws that fit into the holes in the
rotor to push it off the hub.
8. Mark the camber adjuster bolt's position.
9. Remove tie rod end from the axle carrier. Remove the cotter pin and the
nut, then hit it with something and it should pop right through.
10. Remove the two bolts that connect the lower ball joint assembly to the
axle carrier. And break it loose.
11. Remove the crash bolts and camber-adjusting cam. 12. Now pull the whole
axle camber straight out and be sure that the half shaft (axle) is sliding out
of the carrier.
12. Now the fun part. It is important to remember where all these parts go,
so you know how to reassemble it later on.
13. Pull the hub out of the carrier.
14. Pull the front oil seal using a seal puller.
15. Remove the rear oil seal using a seal puller.
16. Remove the snap ring on the rear of the axle carrier. This really sucks;
I broke my snap ring pliers and ended up using a screwdriver to get it out.
17. Pull the inner races out of the bearing. I am guessing that the front
inner race is still stuck on the hub so you will now need to get it off if you
want to reuse the hub. This is where the gear puller and crow bar comes into to
play. Take the crow bar and lay it over the non-screw end of the hub. Now you
have a place to put the screw shaft of the gear puller. You can put the claws of
it on the lip on the inner race and try to get it off. If are getting a new hub
leave it on. This sucker can get heat welded on so it can be impossible to get
it off with out destroying the hub. If I ever do this again I am buying a new
hub from Toyota to begin with.
18. Now you have to get the old bearing out of the axle carrier. Good luck!
If you take all the ball bearings out and clean the assembly you will see two
little slots to slide a special tool into to get the outer race out of the axle
carrier. Here is what I did. I took a screwdriver and hammered at the race till
it budged. Then I took the crow bar and a screwdriver handle and made a bridge
across the center of the bearing outer race. Now I took my puller and reversed
the jaws so they faced outward and put it into the bearing and pulled it out.
19. Installation is reverse of removal. You can use the old outer race to
pound in the new bearing. Be sure to use new seals.
Tyler 85 MR2