SUMP GASKET REPLACEMENT
While I was doing the oil cooler lines and oil filter
o-rings, I decided to replace the sump seal. There is no gasket for the MR2's
sump (actually there is one you can order, but the Toyota BGB recommends using RTV gasket maker.
Parts:
Tube of Permatex Ultra Copper, $3.
New oil and filter
Removal:
1) Jack up rear of car and support on jack stands.
2) Drain oil.
3) Remove the exhaust pipe from the catalytic converter, 3 14mm bolts
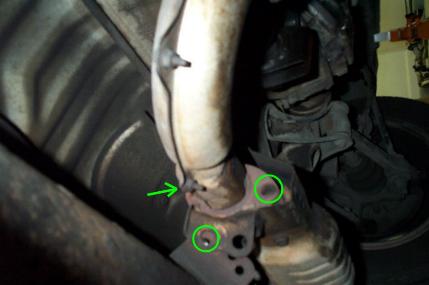
4) Remove the 3 14mm nuts that hold the downpipe to
the exhaust manifold. These are most likely rusted on pretty good, so soak in
your favourite lubricant for a few minutes.
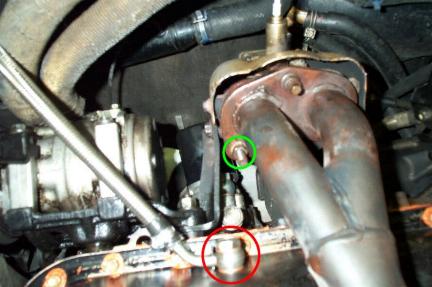
Also remove the 19mm banjo bolt, that holds the oil cooler to the sump.
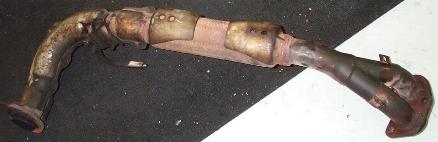
Just a pic of the removed exhaust section:
5) Remove the flywheel cover, by removing the 3 10mm bolts.
6) Remove the 20 million (actually 19) 10mm bolts and
2 10mm nuts that retain the sump. Dropping the sump may require breaking the
seal loose by using a screwdriver or putty knife to work it between the baffle
plate and the sump. Make sure you are aware that the sump and baffle plate
cannot come off at the same time. So these need to be separated as well.
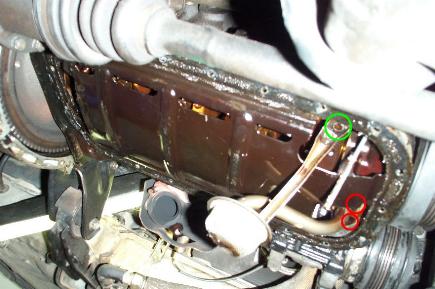
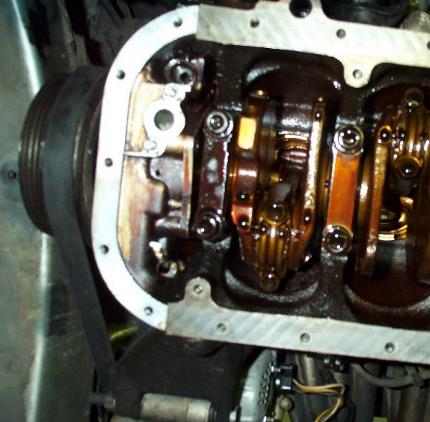
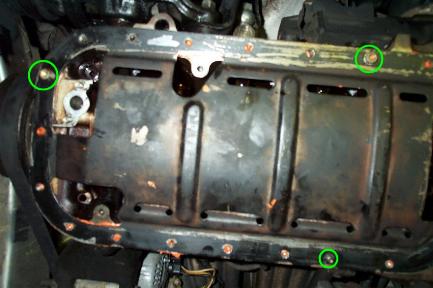
7) Remove the 2 10mm bolts (green) that hold the legs
of the pick-up tube to the block. Also remove the 2 10mm nuts (red) that attach
the pick-up tube to the oil pump.
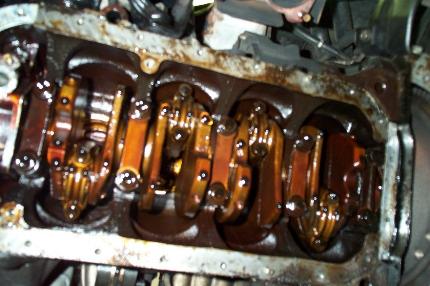
8) Remove the baffle plate and you should see up into the engine block.
Installation:
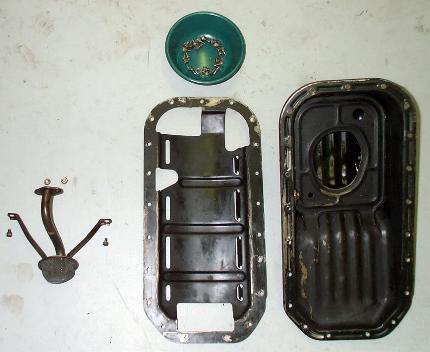
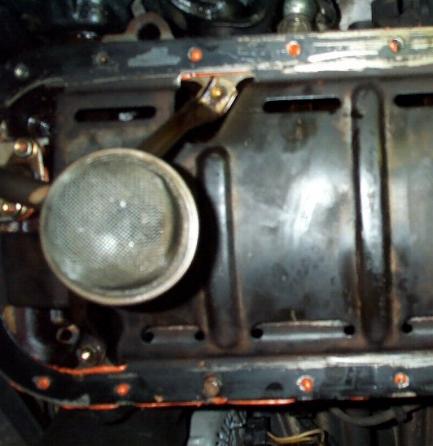
9) Clean everything well, especially the strainer for
the pick-up tube. Pay special attention to the mating surfaces of the block,
baffle plate and oil pan.
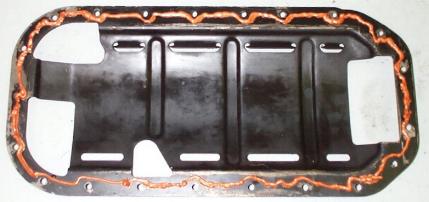
10) Place RTV on the top ledge of the baffle plate:
11) Install the baffle plate, using a few bolts to
temporarily hold it into place. The 2 circles indicate the studs in the block
that align the baffle plate in place.
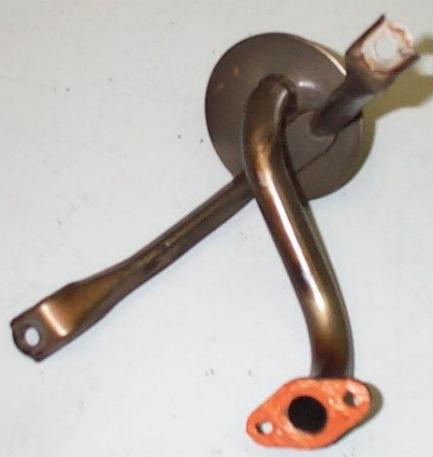
12) RTV the pick-up tube:
13) and install it, torque = 7ft-lbs.
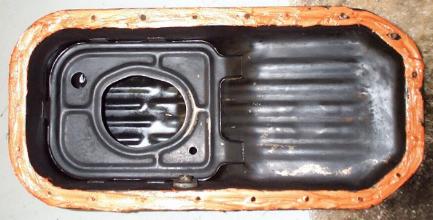
14) RTV the sump (and no it's not gobbed on as much as it seems)
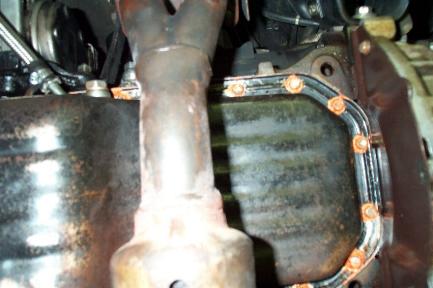
15) Install the sump. The couple of bolts you used to
temporarily hold the baffle plate in place should now be removed. The RTV should
hold the plate in place long enough for you to install the oil pan. Torque the
bolts to spec, 4ft-lbs. Make sure to follow this, or risk breaking the bolts
off. It's also a good idea to put some rtv on the individual bolts. This is time
consuming and is quite messy. You can see I did this from the below pic.
Install the flywheel cover (torque = 4ft-lbs), and
the banjo bolt to the oil pan (torque = 18ft-lbs).
Reinstall the exhaust, opposite of removal.
16) Remove car from jack stands, refill with oil.
You may want to wait a few hours before running car,
to give RTV enough time to cure. Check for leaks over the next few days.
I'd say about 2 hours for this repair. Since you have
to be so careful with the RTV, and having to torque all them bolts. Can also
take longer if your exhaust bolts are welded on...