GEAR GAITER REPLACEMENT
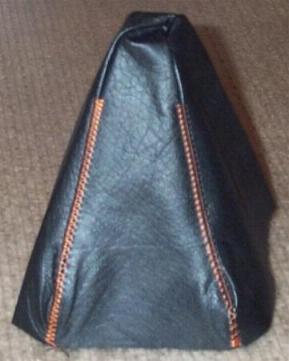
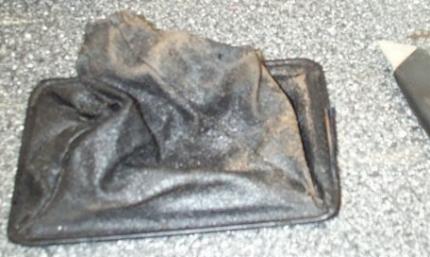
After 17 years, my gear gaiter has become
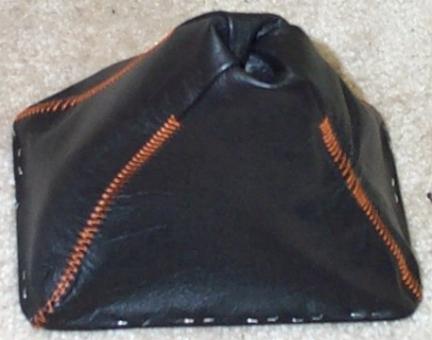
rather tatty. So I purchased a new one made from soft calf leather from a person
on the MR2 forum. I had the option of picking the colour of the stitching. Since
I am going to go with an orange/silver theme in my engine bay when the rebuild
occurs, I decided to start integrating the colour scheme into the interior.
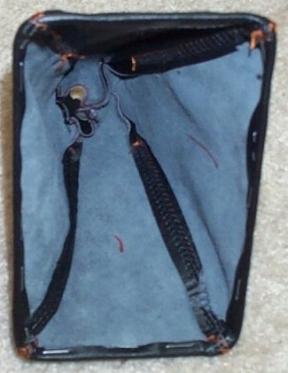
Here's a pic of the new gaiter:
Now for the installation.
1) Remove the driver's seat for ease of
access. Undo the four 14mm bolts that hold the seat in place, two in the front...
...and two in the back.
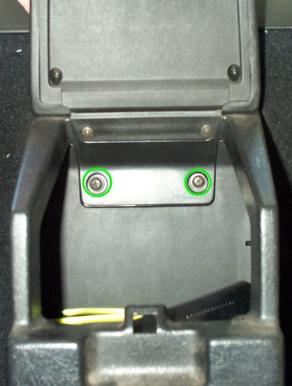
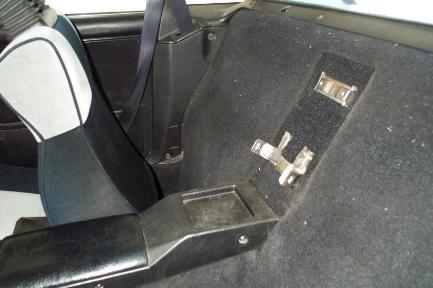
2) Now remove the vertical storage box by
undoing the screw on both the drivers and passenger sides.
and open the lid and remove the top 2 screws there.
The storage box should then pull right out.
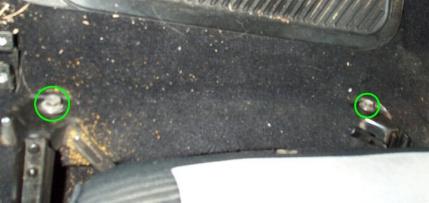
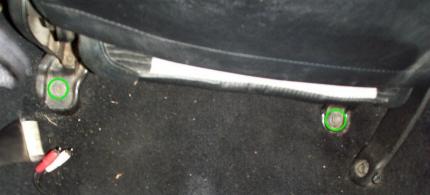
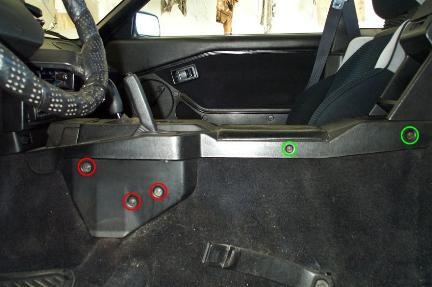
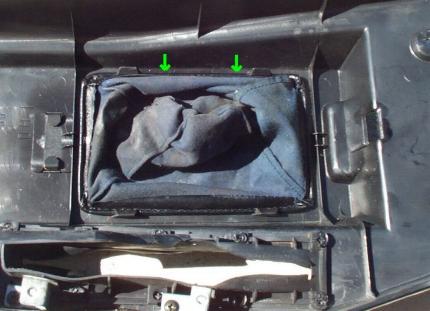
3) Remove the 5 indicated screws. There
are 2 screws opposite the green circled ones on the opposite side that need removal.
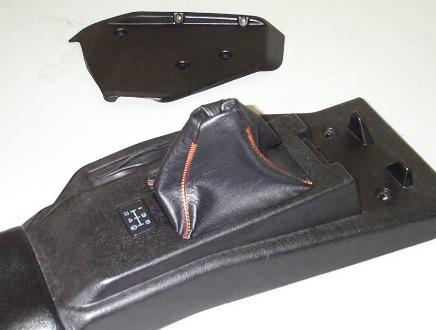
Remove the ashtray, and remove the 2 screws there.
Remove the shift knob by simply unscrewing
it, and then take out the centre console. Lift it out from the rear of the
console, and then slide the front of it over the gear lever and the hand brake.
Take this opportunity to clean the area.
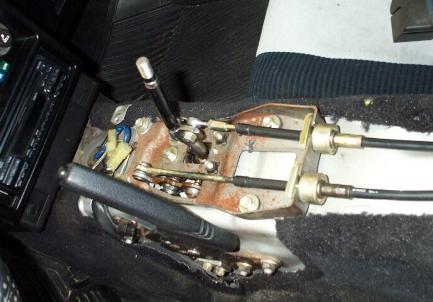
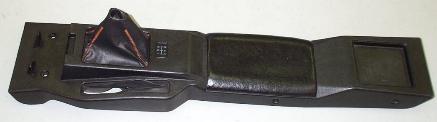
Here's the under side of the centre console.
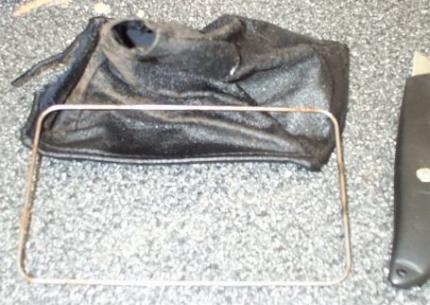
4) Now remove the old gaiter. It is simply
held in place by 4 tabs. Just squeeze the edge of the gaiter. There's a wire
that holds it in place. It should flex easily enough to get past the tabs.
5) Now, you need to reuse this wire in the
new gaiter, so cut it out of the old one with your a knife.
Here the wire is out. Sand off the surface rust.
6) You will need to attach this to the
base of the new gaiter. You can either sew it in or glue it in. After 2 minutes
of trying to sew it by hand with a normal needle, I saw the stapler on my desk.
It worked well and was a lot quicker. If you do this, just make sure to keep the
staples as close as possible to the wire, and you will need to bend the ends to secure them in place.
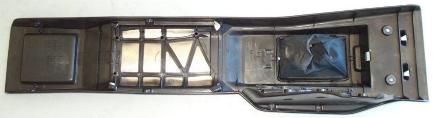
The underside:
7) Install the new gaiter into the console. It should just snap in place under the tabs.
8) Installation is just the opposite of removal for the console.
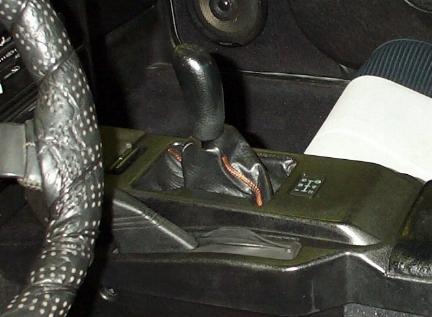
Here it is complete, a nice subtle touch of orange.
Hiya,


I just read this page and I remembered something that I noticed while changing the
shifter base bushings on my car.
If you push down on the wire ring with the shifter still in position it will
dislocate from the tabs that hold it in place. Remove the gear knob and by
rotating the ring a little you should be able to slide it up over the gear stick.
To get it back in you will need to pull it up by pushing the new boot under the wire ring and
pulling it upwards with a finger or two.
Regards,
Terry Kowalik 241104