ALTERNATOR REPLACEMENT
Got the 3 warning lights (Charge, Cooling Fan, Brake) on your
dash shining in your face? Bad voltage regulator that is built into the
alternator.
Got one warning light (Charge) on? But don't notice a drop in the voltage
gauge? Possibly a bad diode in the alternator
Got one warning light (Charge) on? Notice a drop in the voltage gauge?
Alternator itself is possibly bad.
Any of those three could also be bad connections to the alternator, so do
some diagnosis before getting your hands real dirty.
Removal
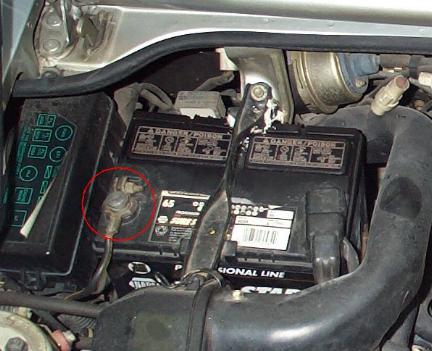
1) Disconnect battery by removing the negative cable
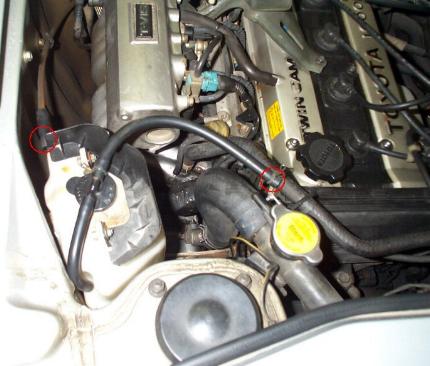
2) Remove the 2 hoses leading to the coolant expansion bottle. Then remove
the bottle by pulling straight up. Often stiff.
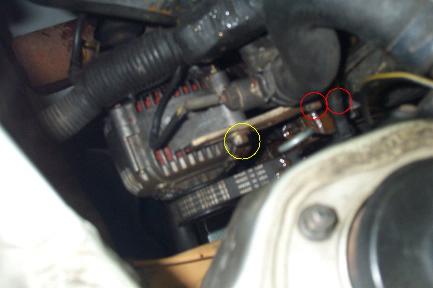
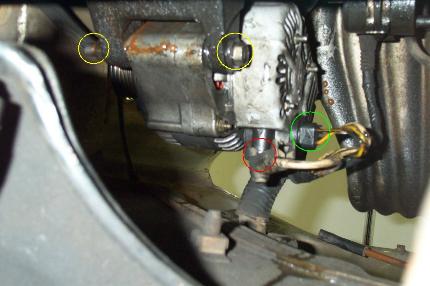
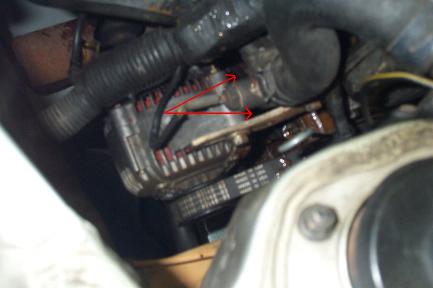
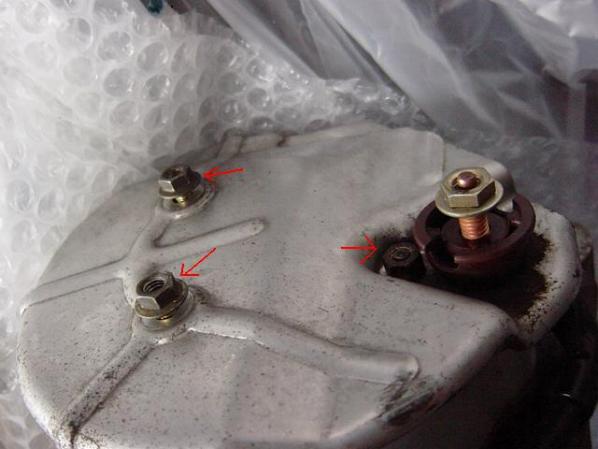
3) Now you can clearly see the alternator. Remove the three 12mm bolts. The 2
red ones are a little difficult to reach. But removing the adjuster bracket
completely makes removal of the alternator a lot easier later on. Also remove
the oil dipstick as it gets in the way.
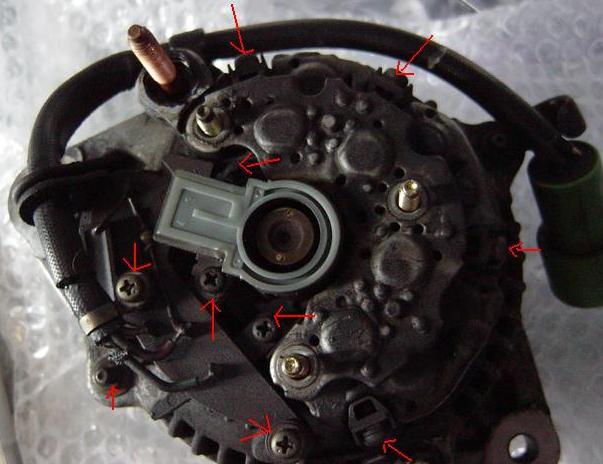
4) Now you should be able to pivot the alternator, so that you can remove the
belt. If not, you may have to loosen the pivot nut underneath in step 5. Also,
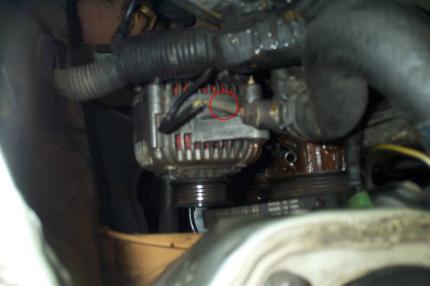
unplug the circled sensor wire.
5) From underneath the car, unplug the green circled connector. It has a
little tab you have to squeeze and then pull out. Pull away the cover over the
red circled connector and then remove the 10mm nut that holds the wire on. Now
move to the pivot nut and bolt. It will probably take both a 14mm socket and
ring spanner to get them loose.
Wiggle the alternator back and forth pushing it up, to remove it from the
pivot bracket. Some alternators may be tight.
6) Once it's free of the pivot bracket, remove the alternator from the engine
bay from above.
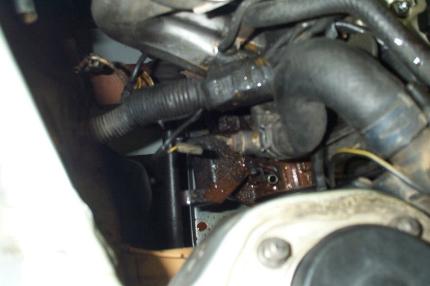
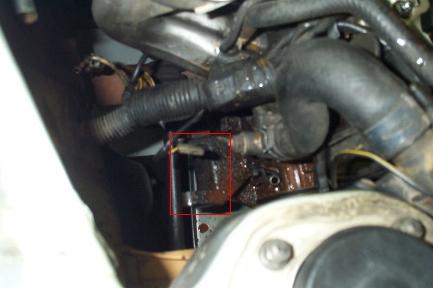
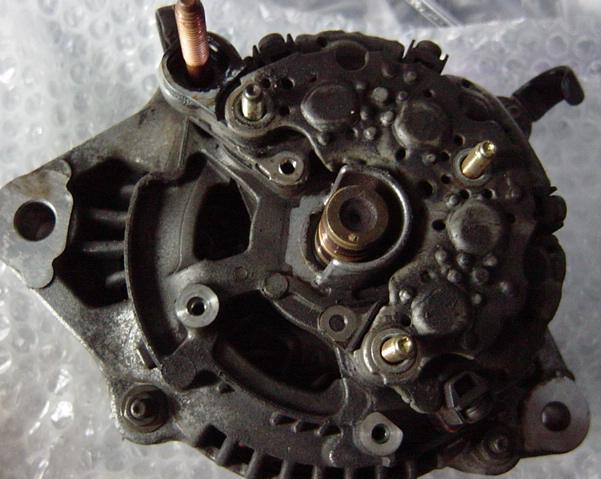
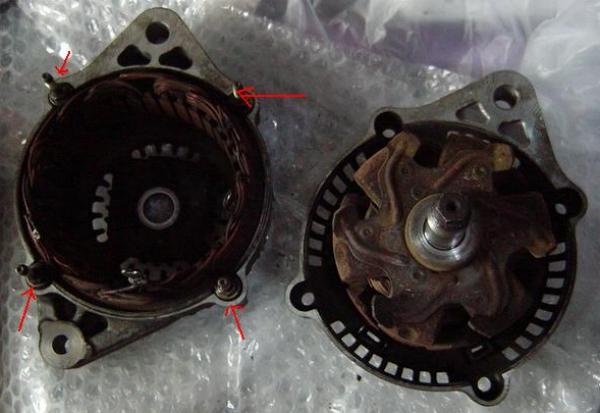
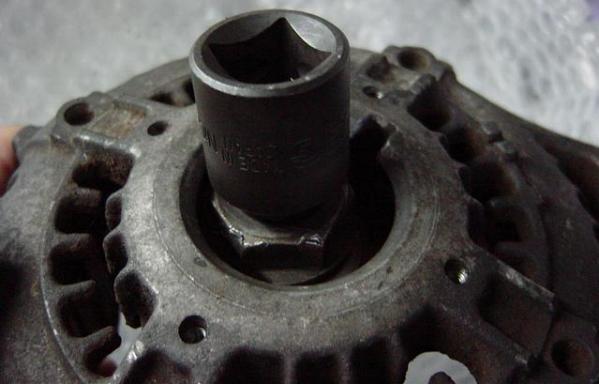
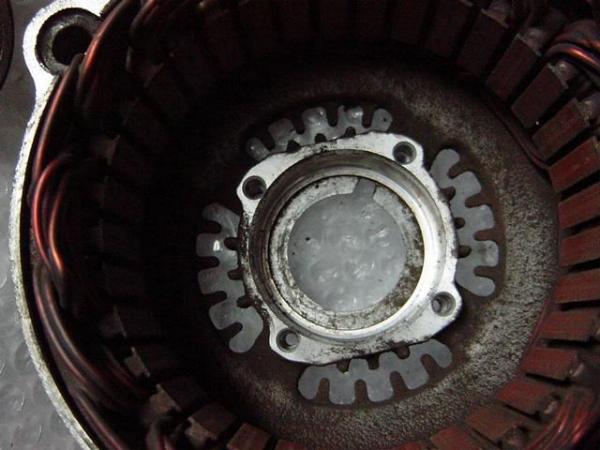
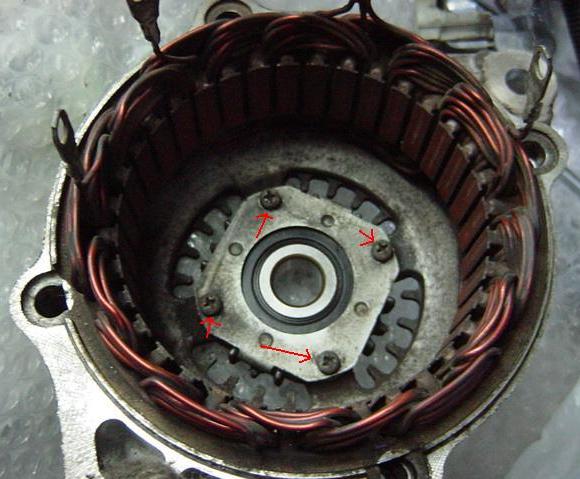
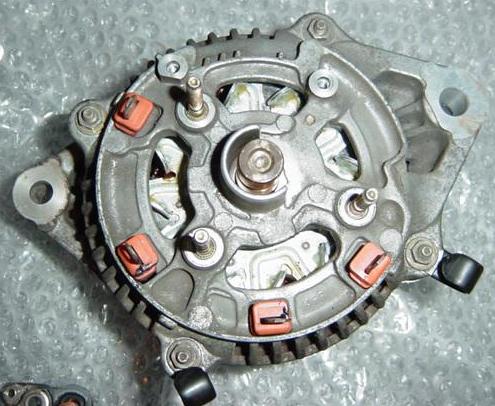
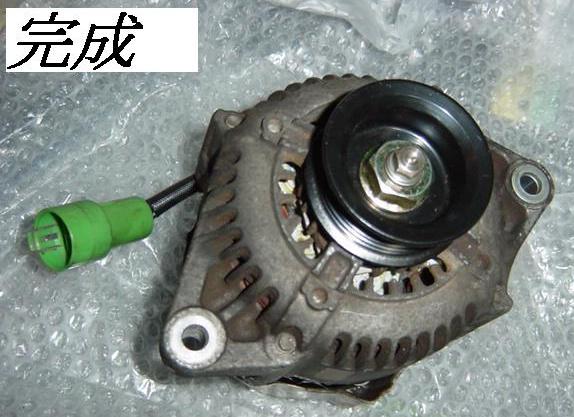
Here's a view from the top with the alternator out.
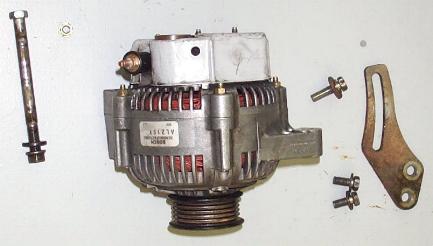
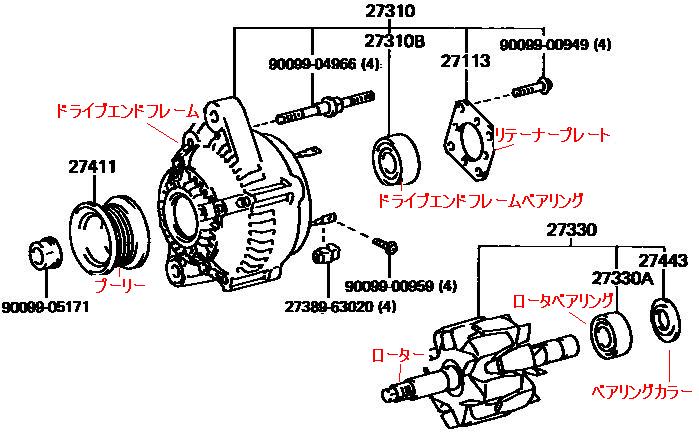
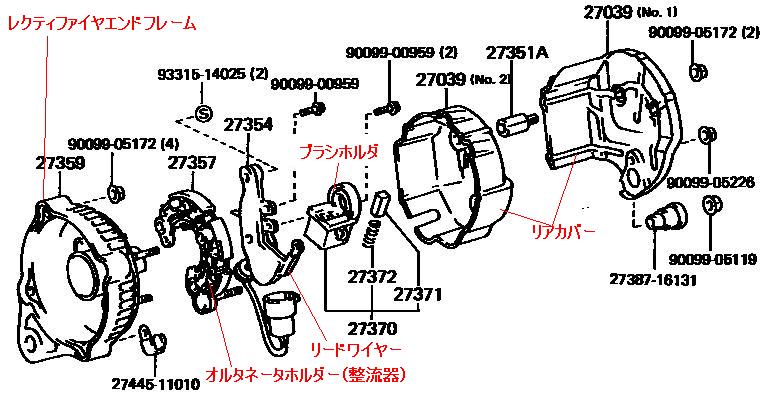
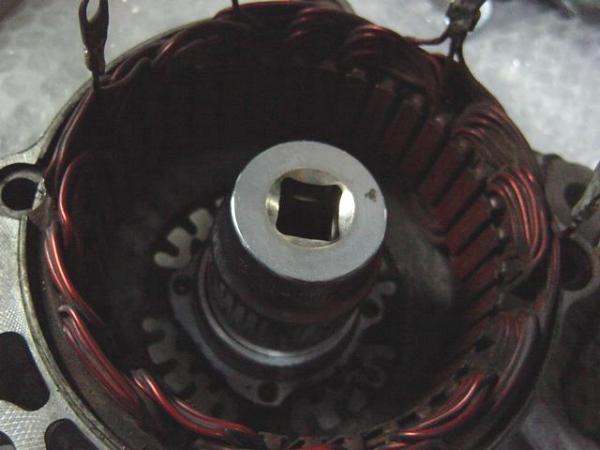
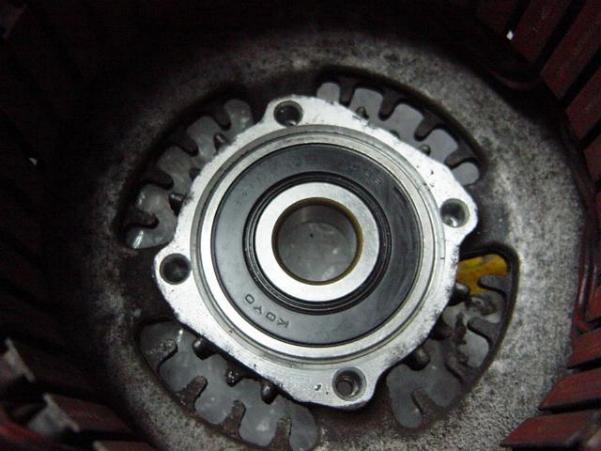
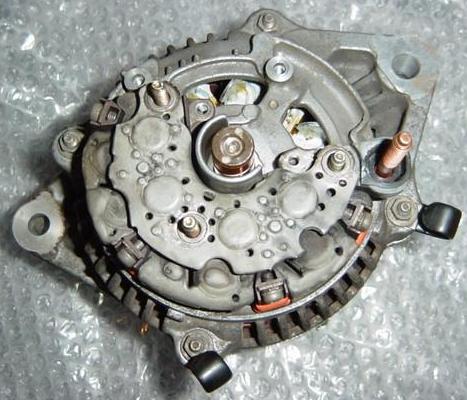
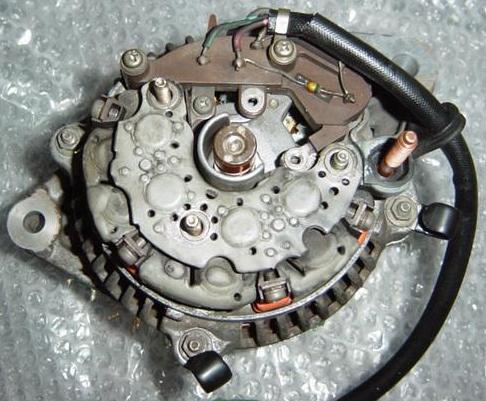
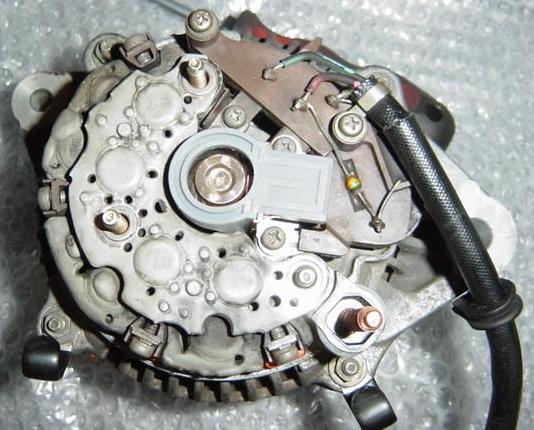
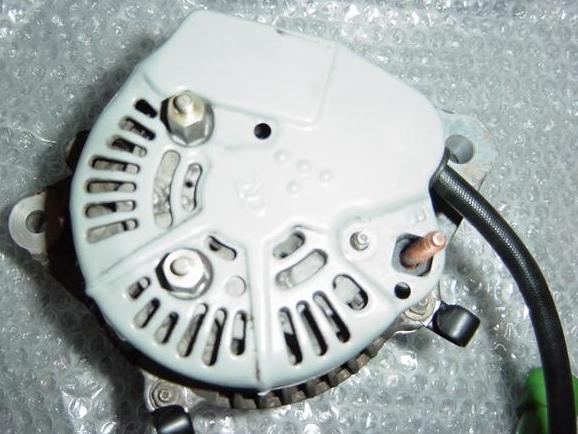
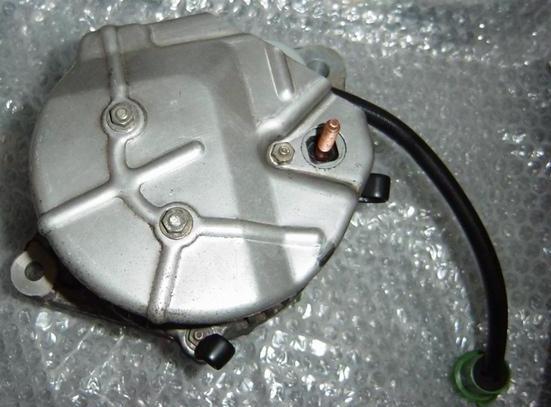
Alternator parts removed.
Installation
It's basically just the opposite of the removal process.
1) From above place the alternator into position of the pivot bracket.
2) From below make sure the alternator is lined up with the bracket, and pull
it down into place. Again this may be harder for some. My first replacement
alternator needed to be forced back in with a block of wood and a hammer from
the top. If it is this tight for you, you may need another person using the
hammer while you are underneath lining up the pivot bolt and bracket. Do not
fully tighten up the bolt and nut once you get it in there.
3) Now back up top reinstall the adjustment bracket. The 2 bolts that hold it
to the engine first, but don't tighten completely. Then line up the alternator
with the bracket and install the bolt, not tightening completely. Now you can
tighten the 2 adjustment bracket bolts down.
4) Go ahead and install the 3 different wires and plugs that you removed. And
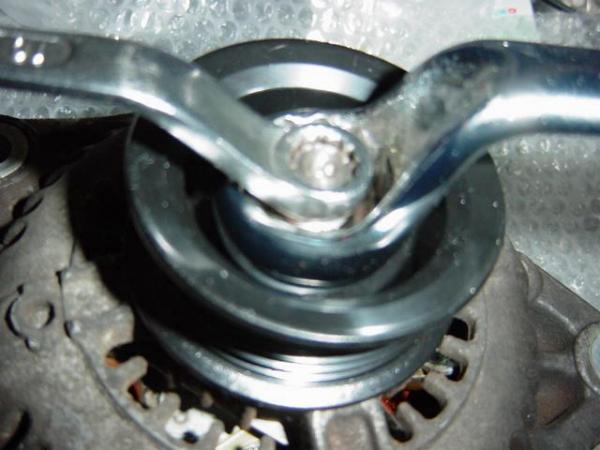
replace the alternator belt. Make sure of course everything is lined up properly
with the belt.
5) Tightening the belt. Use a large screwdriver or some other pry bar and pry
the alternator in either of the 2 spots, pushing the alternator back and
tightening the belt. Once you think it's tight enough tighten down the
adjustment bolt. Proper way is to test if the belt is tight enough is a belt
tensioner gauge.
6) Once you are satisfied with this, tighten the pivot bolt back underneath
the car.
7) Replace the oil dip stick, and the negative battery cable.
8) Start the engine, any squeals coming from the alternator area usually
means that the belt needs further tightening.
UPDATE 27th OCTOBER 2006
Hi Richard,
Quick tip for the repairs page, as I've swapped my alternator today and
came up against the "stiff" alternator fit problem... on my MK1b, the
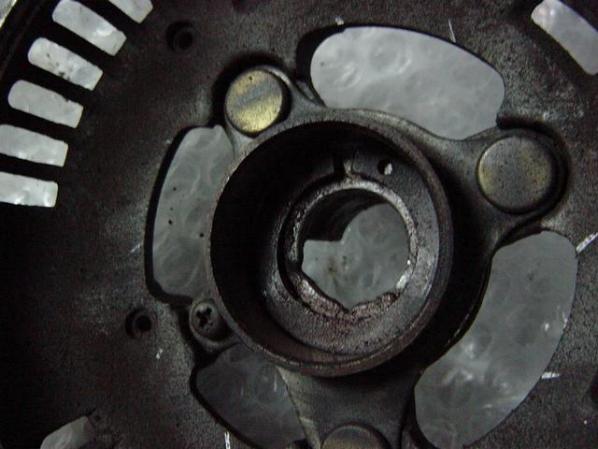
lower alternator bracket has a sleeved collar fitted on the inner of one
side (the right hand circle on
http://www.mr2mk1club.com/repairsp32_files/4pivot.jpg
This is intended to be pushed through by the long bolt when tightened, thereby firmly
holding the alternator without unduly stressing or bending the bracket -
rather a neat idea. Once my old alternator was out, the replacement
simply would not fit, despite much wiggling and prying. After inspecting
the area with a torch and realising what the collar was there for, I
rigged up a simple mechanism to wind this collar back in, using an old
nut and bolt, two large washers, and a largish socket as a spacer over the
'free' end, and sure enough it slowly slid back into the bracket. This
added about 1mm of clearance for the alternator, which was more than
adequate, and it slipped in easily.
This might be obvious to some, but then again it might save others some
hammering and swearing.
Cheers, Daniel Basterfield