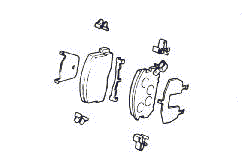
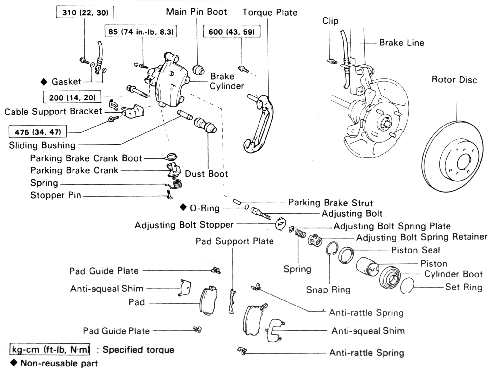
REAR BRAKE COMPONENTS
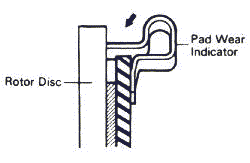
NOTE: If
a squealing noise occurs from the rear brakes while driving, check the pad wear
indicator plate. If there are traces of the indicator plate contacting the brake
disc, the brake pad should be replaced.
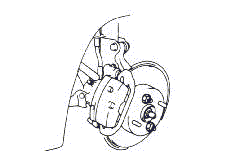
1. Remove rear wheel and temporarily fasten the brake disc with the hub nuts.
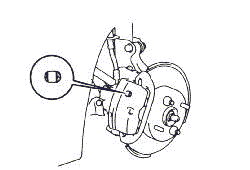
2. Inspect pad lining thickness through the cylinder inspection hole and replace pads if not
within specification. Minimum thickness: 1.0 mm (0.039 in.)
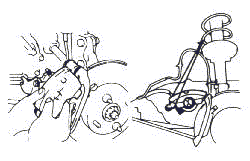
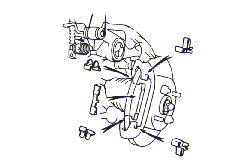
3. Draw out a small amount of brake fluid. 4. Remove cylinder from torque plate.
(a) Remove two installation bolts from the torque plate.
(b) Remove the brake cylinder and suspend it.
NOTE: Do not remove the cylinder from the main pin, and do not disconnect the brake hose.
5. Remove following parts: (a) Two
brake pads. (b) Two anti-squeal shims. (c) Two
anti-rattle springs. (d) Pad support plate. (e) Two
pad guide plates. 6. Check rotor disc thickness (see
step 2 on page BR-33) 7. Check rotor disc runout (see
step 3 on page BR-33)
8. Install pad support plates, anti-rattle springs and pad guide
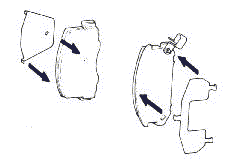
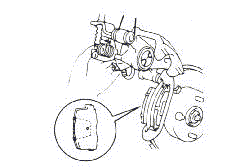
plates. 9. Install new pads and anti-squeal shims. (a)
Install the anti-squeal shims to the pads.
(b)
Raise the cylinder, and install the pads to the cylinder mounting. CAUTION:
Do not allow oil or grease to get on the rubbing face.
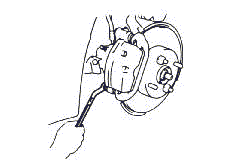
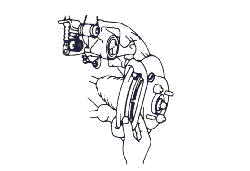
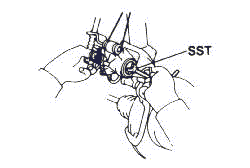
10. Lower cylinder. (a) Using Special Service Tool or adjustable pliers, slowly turn the piston clockwise while pushing it into where it
locks. SST 09719-14020 (09719-00020).
(b) Fit the pad protrusion into the piston stopper groove, and install the cylinder.
NOTE: Insert the cylinder carefully so the boot is not wedged.
11. Install cylinder installation bolt. Install
and torque the cylinder installation bolt. Torque:
200 kg-cm (14 ft-lb, 20 Nm) 12. Install rear wheel. 13. Check that fluid level is at "max" line.
14. Adjust parking brake automatic adjuster by depressing the brake pedal for
several times
